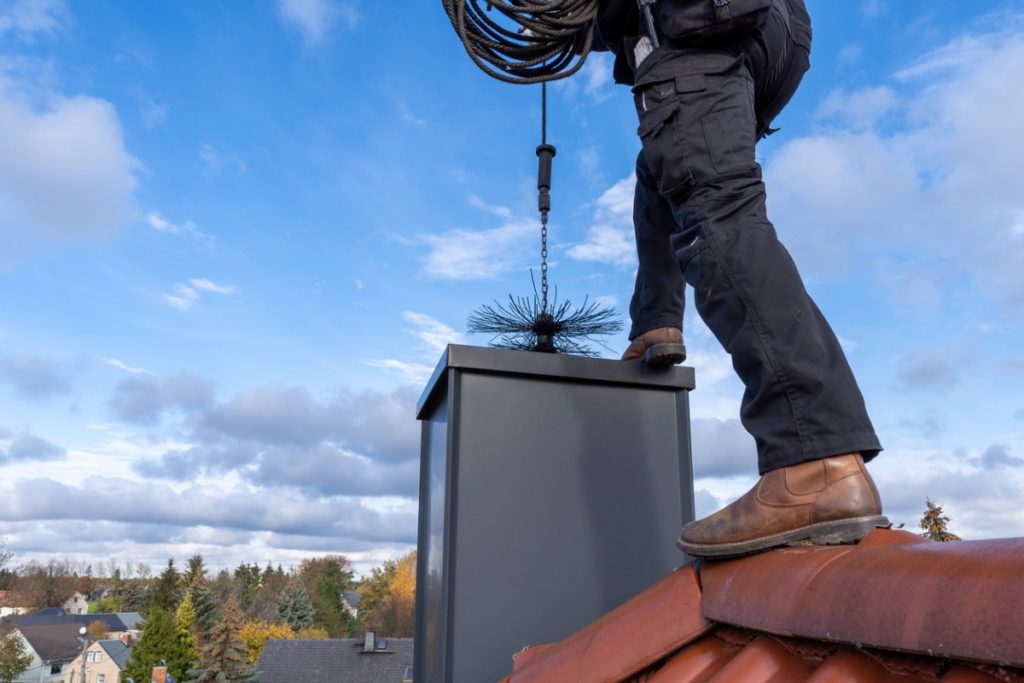
There is nothing like a wood burning fireplace! The crackling sound of wood and the golden glow of the fire emit an unrivaled ambiance to that of gas fireplaces. However, wood burning fireplaces are not without their faults. The burning wood naturally produces carbon and ash, as well as a dangerous substance known as creosote.
Lack of annual maintenance and cleaning causes build-up of these byproducts, which can lead to dusty interiors or even chimney fires. Learning how and when to clean your chimney can help prevent these unwelcome situations from occurring. Luckily, the experts at Cummins Restorations are here to tell you how!
When To Clean Your Chimney
We highly recommend having your chimney cleaned at least twice per year. An annual cleaning should be completed in early Fall – which typically marks “fire burning” season. If you plan to self-clean your chimney, the dry roofs and mild working conditions of late Summer are ideal. Aside from scheduled cleanings, your chimney should also be cleaned if:
- You frequently use your fireplace.
- You burn green, unseasoned, or artificial logs.
- You notice soot and creosote falling into the firebox.
- The creosote build up is more than 1/4″ thick.
How To Clean Your Chimney
Now, it’s time to clean that chimney! It is wise to hire a professional Chimney Sweep, especially if there is a lot of build-up. However, with an assistant and safe ladder practices it is possible to clean the chimney yourself. You will need the following materials:
- Chimney brushes
- Fiberglass extension rods
- Shop vacuum with dust filter
- Extension ladder
- Sheet plastic
- Painter’s tape and duct tape
- Dust mask and safety glasses
- Cordless drill with a screwdriver bit
- Seal the fireplace before going to the roof. Seal the fireplace using your sheet plastic and tape. You will place one sheet, 6′ x 4′, in front of the fireplace on the floor. Another sheet should be placed over the fireplace that spans at least 12″ past the opening. You can now head to the roof with your other tools, aside from the shop vacuum.
- Remove chimney caps and prepare the brushes. Remove the chimney cap screws with your cordless drill to access the flue. Be sure you don’t place the caps in a place where they will fall or be tripped over. Next add the chimney sweeping brush onto the first extension rod. Be sure the additional rods are kept nearby so you can add as you go.
- Scrub the chimney. Start at the top and slowly work your way downwards, adding rods as you go. Once you have reached the smoke shelf, bring the rods back up, scrubbing on the way up as well. Once you have scrubbed all sides of the chimney, disassemble your rods and replace the chimney cap screws.
- Clean the fireplace. The debris will need about 10 minutes to settle. Once that is done, you can remove the plastic covering from the firebox opening. Clean the visible areas with your small chimney cleaning brush, and remove any remaining debris with the shop vacuum.
We hope you have found this article helpful! For more DIY tips, check out our blog.


