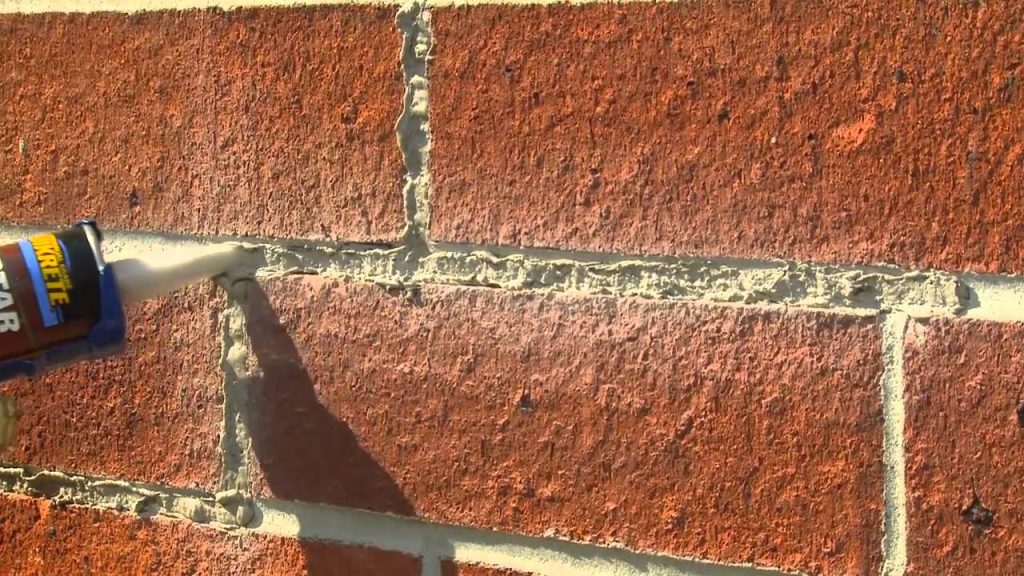
Last month we told you a few fun facts about tuckpointing. As a reminder, tuckpointing is the technique used to repair the damaged mortar and refill the joints between bricks. Although we strongly recommend hiring a professional to complete this precise and labor-intensive repair, it is possible to do it yourself. In this article we’ve broken the process down into 6 easy steps for you to try!
1. What You’ll Need
Set aside 3 hours and grab the following:
- Eye protection
- Cold chisel
- Hammer
- Stiff-bristle brush
- Bucket
- Masonry trowel
- Mortar hawk
- Tuck pointer
- Jointing tool
- Mortar mix
2. Remove the Loose Mortar
Using a cold chisel and hammer, remove the deteriorated mortar that you are replacing. Be sure to place the chisel at the edge of the brick and dig towards the center of the mortar joint, not towards the brick. The old mortar should be removed to a depth of around 3/4 an inch.
3. Prepare the Joints
Using a stiff bristle brush, sweep away the loose dust and mortar from the joints. You may also wet the joints by dipping the brush into a bucket of water and scrubbing into the joints.
4. Mix the Mortar
Time to mix the mortar using a bucket and masonry trowel! Be sure to use clean water and follow the manufacturer’s instructions. The finished product should have the same consistency as pudding. You can add a cement dye if matching the color of the existing mortar or a liquid latex binder to reduce the risk of cracking.
5. Pack the Joints
Begin with the horizontal joints first, then move on to the vertical ones. Hold a mortar hawk or 12″ square of plywood against the brick and under the joint to be filled, then slide mortar into the open joint with a tuck pointer. The end result should be neatly packed and flush with the brick.
6. Tool the Joints & Cure the Job
When the mortar is stiff enough, strike the joints with a matching jointing tool. Once again beginning with the horizontal joints and following with the vertical ones. The mortar is ready when your thumb leaves a slight impression when pressed into the material. After 30 minutes you can brush the joints to remove loose or spilled mortar. Be sure to lightly spray the repair area with water to slow the curing process; misting for the next 3 days or as directed by the mortar manufacturer.


